Welcome to the official website of Xi'an Yuli Electronic Technology Co., Ltd.


How to Test the Performance of Your Three Phase Contactor: A Comprehensive Guide
2025-11-09
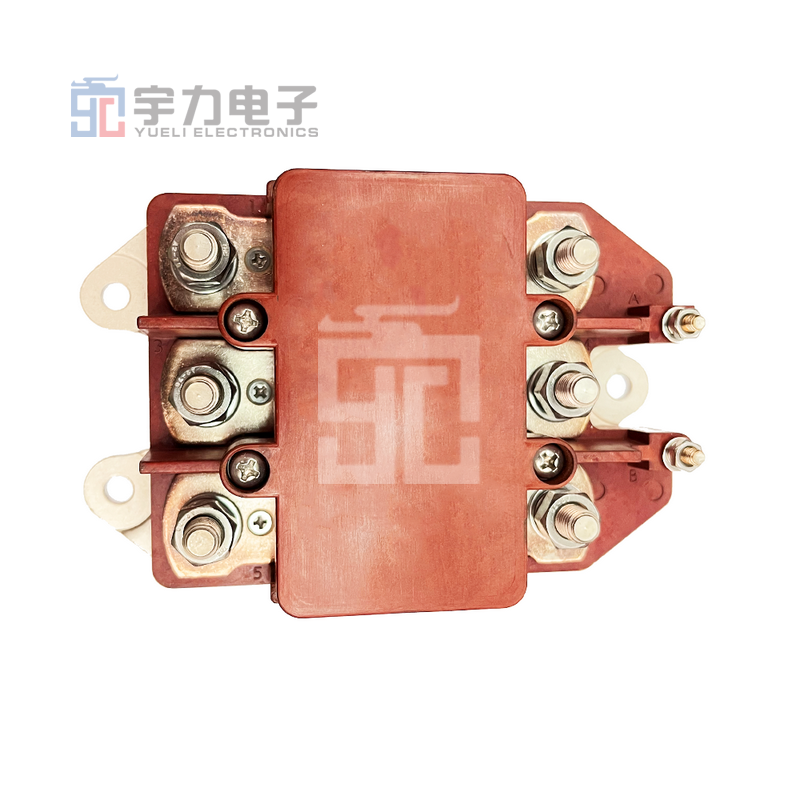
How to Test the Performance of Your Three Phase Contactor
Table of Contents
- Understanding Three Phase Contactors
- The Importance of Testing Your Three Phase Contactor
- Tools and Equipment Required for Testing
- Step-by-Step Guide to Testing Your Three Phase Contactor
- Troubleshooting Common Contactor Issues
- Maintenance Tips for Three Phase Contactors
- Signs of Failure in Three Phase Contactors
- Frequently Asked Questions
Understanding Three Phase Contactors
Three-phase contactors are electrical devices that control power circuits. They are commonly used in industrial and commercial applications to manage the flow of electricity to motors, lighting systems, and other heavy loads. A three-phase system consists of three alternating currents, which are offset in phase by 120 degrees. This configuration allows for a more efficient power distribution and ensures smoother operation of connected devices.
Components of a Three Phase Contactor
A typical three-phase contactor consists of several key components:
1. **Coil**: The electromagnetic part of the contactor that opens and closes the contacts.
2. **Contacts**: These are the conductive parts that either allow or inhibit the flow of electricity.
3. **Enclosure**: The casing that protects the internal components from dust and moisture.
4. **Auxiliary Contacts**: Additional contacts that provide feedback or control other devices.
Understanding these components is crucial for effective testing and maintenance.
The Importance of Testing Your Three Phase Contactor
Regular testing of your three-phase contactor is vital for several reasons:
1. **Safety**: Faulty contactors can lead to electrical fires or equipment damage.
2. **Efficiency**: A well-functioning contactor ensures optimal energy usage, reducing operational costs.
3. **Longevity**: Regular testing helps identify issues before they escalate, prolonging the contactor's lifespan.
4. **Performance**: Ensures that the contactor operates within specified parameters, maintaining system reliability.
Tools and Equipment Required for Testing
To effectively test the performance of your three-phase contactor, you'll need the following tools:
1. **Multimeter**: To measure voltage, current, and resistance.
2. **Clamp Meter**: Useful for measuring current without disconnecting the circuit.
3. **Insulation Resistance Tester**: To check the insulation integrity.
4. **Screwdriver Set**: For accessing the contactor terminals.
5. **Wrench Set**: For securing connections.
6. **Safety Gear**: Gloves, goggles, and other personal protective equipment (PPE) to ensure safety during testing.
Step-by-Step Guide to Testing Your Three Phase Contactor
Testing the performance of a three-phase contactor involves several critical steps:
Step 1: Ensure Safety Protocols
Before beginning any testing, ensure that all safety protocols are in place. Disconnect power to the contactor and verify with a multimeter that no voltage is present.
Step 2: Inspect the Contactor
Visually inspect the contactor for any signs of wear, burning, or corrosion. Ensure that all connections are tight and free from debris. Look for any physical damage on the contacts and coil.
Step 3: Measure Coil Voltage
Using a multimeter, measure the voltage across the coil terminals when the contactor should be energized. The reading should match the specified voltage rating of the contactor.
Step 4: Test the Contacts
With the contactor energized, use a multimeter to check the resistance across the contacts. A good contactor should show a low resistance value (close to zero ohms) when closed. If the resistance is high, the contacts may be damaged or dirty.
Step 5: Assess Insulation Resistance
Using an insulation resistance tester, check the insulation between the contactor terminals and the enclosure. A reading of 1 Megaohm or higher is generally acceptable. Lower readings indicate deteriorating insulation which may lead to failures.
Step 6: Check Auxiliary Contacts
If your contactor has auxiliary contacts, test them in the same manner as the main contacts. Ensure that they operate correctly in both the energized and de-energized states.
Step 7: Analyze Current Draw
Using a clamp meter, measure the current draw during operation. Compare this value to the rated current of the contactor. If the current draw is consistently high, this could indicate an overloaded system.
Troubleshooting Common Contactor Issues
If you encounter issues during testing, consider the following common problems:
1. **Inconsistent Operation**: This can be caused by loose connections or a failing coil.
2. **High Current Draw**: May indicate a mechanical failure in the connected load or an undersized contactor.
3. **Burnt Contacts**: Result from excessive arcing, often due to high inrush currents or incorrect sizing.
4. **Failure to Energize**: Could be a faulty coil, incorrect voltage supply, or open control circuit.
Addressing these issues promptly will ensure reliability and longevity of your electrical systems.
Maintenance Tips for Three Phase Contactors
To maintain optimal performance, follow these maintenance practices:
1. **Regular Inspection**: Schedule periodic visual inspections of the contactor and surrounding wiring.
2. **Cleaning**: Keep the contactor clean and free from dust and contaminants. Use appropriate cleaning agents for electrical components.
3. **Tighten Connections**: Regularly check and tighten all electrical connections to prevent overheating and arcing.
4. **Calibrate Testing Equipment**: Ensure that your testing tools are calibrated for accurate readings.
Signs of Failure in Three Phase Contactors
Recognizing signs of failure can help prevent serious issues:
1. **Frequent Tripping**: If the contactor trips often, it may be a sign of an overload or fault in the circuit.
2. **Burn Marks**: Visible burn marks on the contacts can indicate overheating and require immediate replacement.
3. **Unusual Noises**: Strange buzzing or clicking sounds may suggest mechanical failure or a faulty coil.
4. **Inconsistent Operation**: If the contactor fails to close or open consistently, it may be reaching the end of its lifecycle.
Taking immediate action upon noticing these signs can save time and resources.
Frequently Asked Questions
1. How often should I test my three-phase contactor?
Testing should be done at least once a year, but more frequent checks are recommended in high-use applications.
2. What is the lifespan of a three-phase contactor?
A well-maintained three-phase contactor can last anywhere from 5 to 10 years, depending on its usage and environmental conditions.
3. Can I replace a three-phase contactor myself?
If you have adequate knowledge of electrical systems and safety protocols, you can replace a contactor. However, it's advisable to consult a professional if you're unsure.
4. What are the common causes of three-phase contactor failure?
Common causes include electrical overload, mechanical wear, environmental factors, and poor maintenance.
5. How do I know if my contactor is overloaded?
You can measure the current draw with a clamp meter and compare it to the rated current. Consistent readings above the rated current indicate an overload.
Conclusion
Testing the performance of your three-phase contactor is essential for ensuring safe and efficient operation within your electrical systems. By following the outlined procedures and employing the right tools, you can effectively assess the functionality and reliability of your contactor. Regular maintenance and timely troubleshooting can save you from costly repairs and equipment failures, thereby enhancing the longevity of your systems. Stay vigilant, and your three-phase contactor will continue to serve you well for years to come.
Xi'an Yuli Electronic Technology Co., Ltd.
Whats App:+8618122061211

Message consultation
Note: Please leave your contact information and our professionals will contact you as soon as possible!