Welcome to the official website of Xi'an Yuli Electronic Technology Co., Ltd.


How to Install a Three Phase Relay: A Step-by-Step Guide
2025-09-22
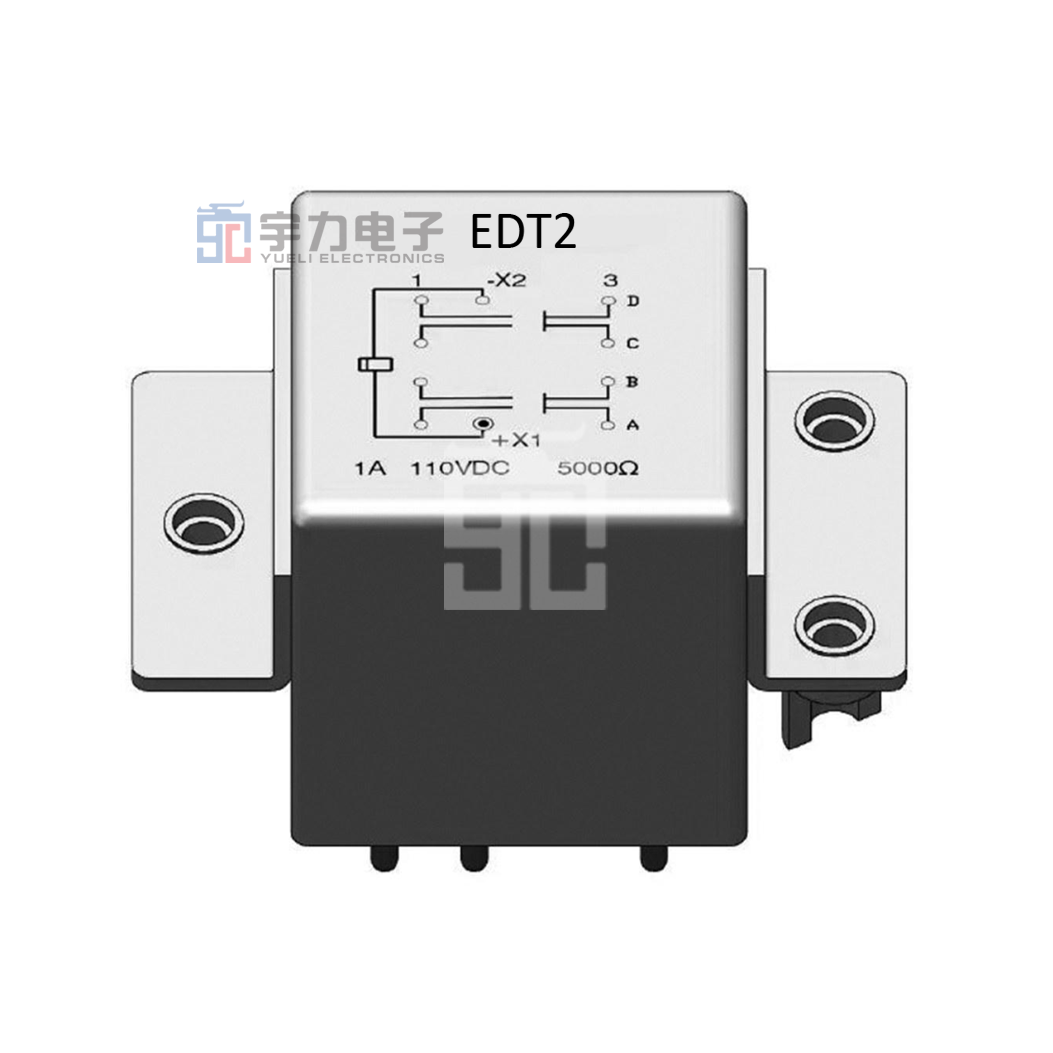
How to Install a Three Phase Relay: A Step-by-Step Guide
The installation of a three-phase relay is a crucial task for maintaining the efficiency and safety of electrical systems in industrial and commercial applications. This guide will provide detailed steps, tips, and safety precautions to ensure a proper installation.
Table of Contents
- 1. Introduction to Three Phase Relays
- 2. Understanding Three Phase Relays
- 3. Tools and Materials Needed for Installation
- 4. Safety Measures Before Installation
- 5. Step-by-Step Installation Process
- 6. Testing the Installation
- 7. Common Issues and Troubleshooting
- 8. Conclusion
1. Introduction to Three Phase Relays
Three-phase relays play an essential role in coordinating and controlling electrical systems with three-phase power. They are designed to protect systems from overload, phase loss, or phase reversal, ensuring operational reliability and safety. Proper installation is critical, not only for functionality but also for compliance with safety regulations.
2. Understanding Three Phase Relays
Three-phase relays are devices that monitor the electrical properties of three-phase systems. They detect discrepancies in voltage and current, triggering protective measures when parameters deviate from set thresholds. Understanding the types of relays available, such as overload relays, phase failure relays, and under-voltage relays, is vital for selecting the appropriate device for your installation.
3. Tools and Materials Needed for Installation
To successfully install a three-phase relay, gather the following tools and materials:
- **Screwdriver set:** For securing the relay.
- **Wire cutters and strippers:** To prepare wiring.
- **Multimeter:** To test electrical connections.
- **Drill:** If mounting is necessary.
- **Relay specification sheet:** To understand the terminal layout and configuration.
- **Wiring materials:** Sufficiently rated wires and connectors.
4. Safety Measures Before Installation
Safety is paramount when working with electrical systems. Adhere to these essential safety measures:
- **Disconnect power:** Always ensure that power is turned off at the circuit breaker before starting work.
- **Use insulated tools:** This minimizes the risk of electric shock.
- **Wear personal protective equipment (PPE):** Gloves, goggles, and hard hats are recommended.
- **Verify the installation area:** Check for hazards such as moisture or flammable materials.
5. Step-by-Step Installation Process
5.1 Pre-Installation Checks
Before proceeding, confirm that the relay and associated equipment are compatible with your system. Review the relay’s specifications and the electrical panel layout to ensure proper alignment with the three-phase power source.
5.2 Mounting the Relay
1. **Select the optimal location:** Mount the relay in a dry, accessible area away from direct contact with moisture.
2. **Secure the relay:** Use screws or brackets provided with the relay kit to firmly attach it to the mounting surface.
5.3 Wiring the Relay
1. **Identify terminal connections:** Consult the relay specification sheet to understand the terminal layout.
2. **Prepare wires:** Cut and strip the wires according to the relay's specifications.
3. **Connect wires to the relay:** Follow the labeled terminals for correct wiring, ensuring secure and tight connections to prevent loose contacts.
5.4 Configuring the Relay
1. **Set parameters:** Depending on the relay type, configure the settings for voltage levels, current ratings, and timing delays.
2. **Double-check configurations:** Ensure that all settings are accurate according to the manufacturer's guidelines.
6. Testing the Installation
Once installation is complete, it is critical to test the relay to ensure proper functionality.
1. **Restore power:** Turn on the circuit breaker to supply power to the relay.
2. **Use a multimeter:** Verify that voltage and current readings align with expected levels.
3. **Conduct a functional test:** Simulate fault conditions to ensure the relay activates properly.
7. Common Issues and Troubleshooting
Even with careful installation, issues may arise. Here are some common problems and their solutions:
- **Relay does not activate:** Check wiring connections and ensure that the settings are configured correctly.
- **Frequent tripping:** This may indicate an underlying electrical issue; inspect for overloads or faulty wiring.
- **Incorrect readings:** Verify that the relay is compatible with the electrical system’s specifications.
8. Conclusion
Installing a three-phase relay is a task that requires precision, safety, and knowledge of electrical systems. By following this step-by-step guide, you can confidently install a three-phase relay, ensuring the protection and efficiency of your electrical setup. Remember to conduct thorough testing following the installation, and maintain vigilance for any potential issues. With careful planning and execution, you can enhance the reliability of your power systems effectively.
FAQs
1. What is a three-phase relay used for?
Three-phase relays are primarily used to protect three-phase electrical systems from overloads, phase failures, and other anomalies.
2. Can I install a three-phase relay on my own?
Yes, if you possess the necessary electrical knowledge and skills, you can install a three-phase relay. However, if unsure, it's best to consult a professional electrician.
3. How do I determine which type of relay I need?
Your choice of relay depends on the specific requirements of your electrical system, such as the type of protection needed (overload, phase failure, etc.).
4. What tools will I need for the installation?
Essential tools include screwdrivers, wire cutters, a multimeter, a drill, and wiring materials.
5. What safety precautions should I take before installing a relay?
Ensure the power is disconnected, use insulated tools, wear PPE, and check the installation area for hazards.
Xi'an Yuli Electronic Technology Co., Ltd.
Whats App:+8618122061211

Message consultation
Note: Please leave your contact information and our professionals will contact you as soon as possible!