Welcome to the official website of Xi'an Yuli Electronic Technology Co., Ltd.


How to Wire a Three Phase Contactor: A Step-by-Step Guide for Efficient Electrical Installation
2026-03-05
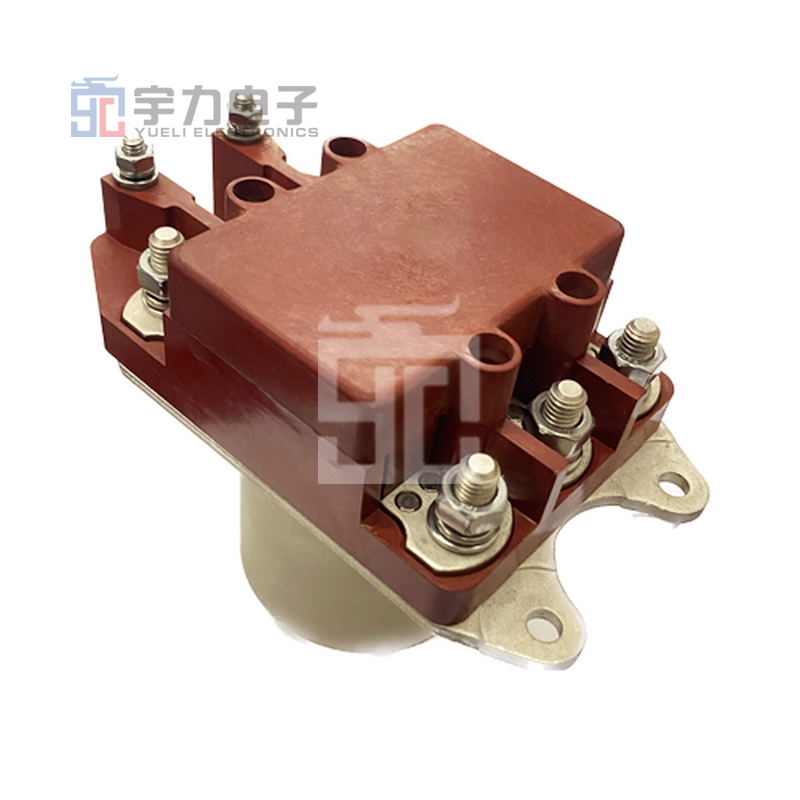
How to Wire a Three Phase Contactor: A Step-by-Step Guide
Table of Contents
1. Understanding the Basics of Three Phase Contactors
2. Tools Required for Wiring a Three Phase Contactor
3. Safety Precautions Before Starting
4. Wiring Diagrams for Three Phase Contactors
5. Step-by-Step Wiring Instructions
5.1 Connecting the Power Supply
5.2 Wiring the Control Circuit
5.3 Integrating the Auxiliary Contacts
6. Common Issues and Troubleshooting Tips
7. Maintenance Tips for Your Contactor
8. Frequently Asked Questions (FAQs)
9. Conclusion
1. Understanding the Basics of Three Phase Contactors
Three-phase contactors are essential components in industrial and commercial electrical systems. They serve to control the flow of electricity to motors and other heavy loads by acting as electrical switches. A three-phase contactor can handle higher voltages and currents compared to single-phase contactors, making them ideal for various applications, including HVAC systems, manufacturing equipment, and large motors.
These devices consist of a coil, contacts, and sometimes an auxiliary contact for additional functionality. Understanding how they work is crucial before diving into the wiring process.
2. Tools Required for Wiring a Three Phase Contactor
To wire a three-phase contactor correctly, you will need the following tools:
- **Screwdrivers** (flathead and Phillips)
- **Wire Strippers**
- **Multimeter**
- **Crimping Tool**
- **Electrical Tape**
- **Cable Ties**
- **Drill and Drill Bits** (if mounting is required)
- **Safety Goggles** and **Insulated Gloves**
Having these tools readily available will facilitate a smoother wiring process and enhance safety.
3. Safety Precautions Before Starting
Safety should always come first when dealing with electrical installations. Here are essential safety tips to keep in mind:
- **Always disconnect power** before starting work on any electrical equipment.
- Use insulated tools to minimize the risk of electrical shock.
- Wear safety goggles and gloves to protect against accidental contact with live wires.
- Ensure your work area is dry and free of clutter.
- Follow all local electrical codes and regulations.
Taking these precautions seriously will help prevent accidents and ensure a safe working environment.
4. Wiring Diagrams for Three Phase Contactors
Wiring diagrams are crucial for visualizing the connections needed for a three-phase contactor. Below is a basic overview of a typical three-phase contactor wiring diagram:
- **Power Supply**: Connect three-phase power lines (L1, L2, L3) to the line terminals of the contactor.
- **Motor Connections**: Connect the load (motor) to the output terminals of the contactor.
- **Control Circuit**: Establish connections for the control circuit using a control switch or push button.
Having a clear diagram will simplify the wiring process and reduce the likelihood of errors.
5. Step-by-Step Wiring Instructions
Now that you have a basic understanding of three-phase contactors and the necessary tools, let’s get into the detailed wiring instructions.
5.1 Connecting the Power Supply
1. **Turn off all power** to the circuit at the main disconnect switch.
2. **Identify the line terminals** (L1, L2, L3) on the contactor.
3. **Connect the three-phase power supply wires** to the line terminals of the contactor. Ensure that each wire is tightened securely to prevent loose connections.
4. Use a **multimeter** to verify that no voltage is present before proceeding.
5.2 Wiring the Control Circuit
1. Locate the **control terminals** (often marked as A1 and A2) on the contactor.
2. Connect a **control switch** or push button to these terminals.
3. Ensure that the other side of the control switch connects to the neutral or ground as required by your electrical setup.
4. Test the control circuit using a multimeter to verify that the switch operates correctly.
5.3 Integrating the Auxiliary Contacts
1. If your setup requires auxiliary contacts, locate the auxiliary terminal blocks on the contactor.
2. Connect the auxiliary contacts in parallel with the control circuit, ensuring they are properly wired to allow for load control.
3. Test the system once again to confirm all connections are functioning as expected.
6. Common Issues and Troubleshooting Tips
Even with careful installation, problems may arise. Here are common issues and troubleshooting tips:
- **Contactor does not engage**: Check power supply connections and ensure the control switch is functional.
- **Motor does not start**: Verify that the contactor is functioning correctly and that no overload protection has been triggered.
- **Unusual noises or overheating**: Inspect for loose connections or damaged wiring that could cause excessive resistance.
Having a methodical approach to troubleshooting can save time and prevent unnecessary repairs.
7. Maintenance Tips for Your Contactor
To ensure longevity and optimal performance, regular maintenance is essential:
- **Inspect connections** regularly for tightness and corrosion.
- **Clean the contactor** to remove dust and debris that could affect operation.
- **Test the control circuit** periodically to confirm proper function.
- **Replace worn components** promptly to avoid failure during operation.
Routine checks can help catch issues before they escalate into significant problems.
8. Frequently Asked Questions (FAQs)
**Q1: What is a three-phase contactor?**
A: A three-phase contactor is an electromechanical switch used to control high power loads, particularly in three-phase electrical systems.
**Q2: Can I use a single-phase contactor for three-phase applications?**
A: No, single-phase contactors are not designed to handle the higher loads and voltage of three-phase systems.
**Q3: What is the difference between a contactor and a relay?**
A: While both are used for switching, contactors are built for higher current and voltage applications, whereas relays are typically used for lower power applications.
**Q4: How can I tell if my contactor is failing?**
A: Signs of failure include intermittent operation, unusual noises, overheating, or visible damage to the contacts.
**Q5: Is it necessary to use auxiliary contacts?**
A: While not always necessary, auxiliary contacts provide added functionality for control circuits and can enhance operational efficiency.
9. Conclusion
Wiring a three-phase contactor may initially seem daunting, but by following this step-by-step guide and taking safety precautions, anyone can successfully complete the installation. Understanding the components involved and adhering to best practices ensures that your electrical setup operates efficiently and safely. Regular maintenance and troubleshooting further contribute to the longevity of your systems. By arming yourself with knowledge and the right tools, you can confidently tackle three-phase contactor installations and enhance your electrical expertise.
Xi'an Yuli Electronic Technology Co., Ltd.
Whats App:+8618122061211

Message consultation
Note: Please leave your contact information and our professionals will contact you as soon as possible!